Photography is more than just taking pictures—it’s about telling stories, freezing moments in time, and capturing the beauty of the world around us. Whether you’re using a professional DSLR camera, a compact mirrorless model, or even your smartphone, photography offers endless opportunities for creativity and self-expression. For beginners, diving into this art form can feel overwhelming, but with the right guidance, anyone can learn to capture stunning images that resonate. This Beginner’s Guide to Photography will walk you through the fundamentals of photography, from understanding your equipment to mastering composition techniques.
Why Start Photography?
In an age where visual content dominates social media, photography has become one of the most accessible forms of artistic expression. Beyond sharing photos online, photography allows you to:
- Document memories: Preserve special moments with loved ones, travels, or milestones.
- Express creativity: Experiment with light, color, angles, and perspectives to create unique visuals.
- Explore the world differently: Train your eye to notice details you might otherwise overlook.
- Build skills: Develop technical expertise and creative problem-solving abilities.
For inspiration on why photography matters, explore National Geographic’s photography section.
Step 1: Know Your Equipment
Before you start snapping photos, it’s essential to familiarize yourself with your gear. Here’s how to get started based on the type of camera you’re using:
1. Smartphones
Most people begin their photography journey with smartphones, which are incredibly versatile and packed with advanced features.
- Use Pro Mode (available on many phones) to manually adjust settings like ISO, shutter speed, and white balance.
- Invest in affordable accessories like clip-on lenses or tripods for better versatility.
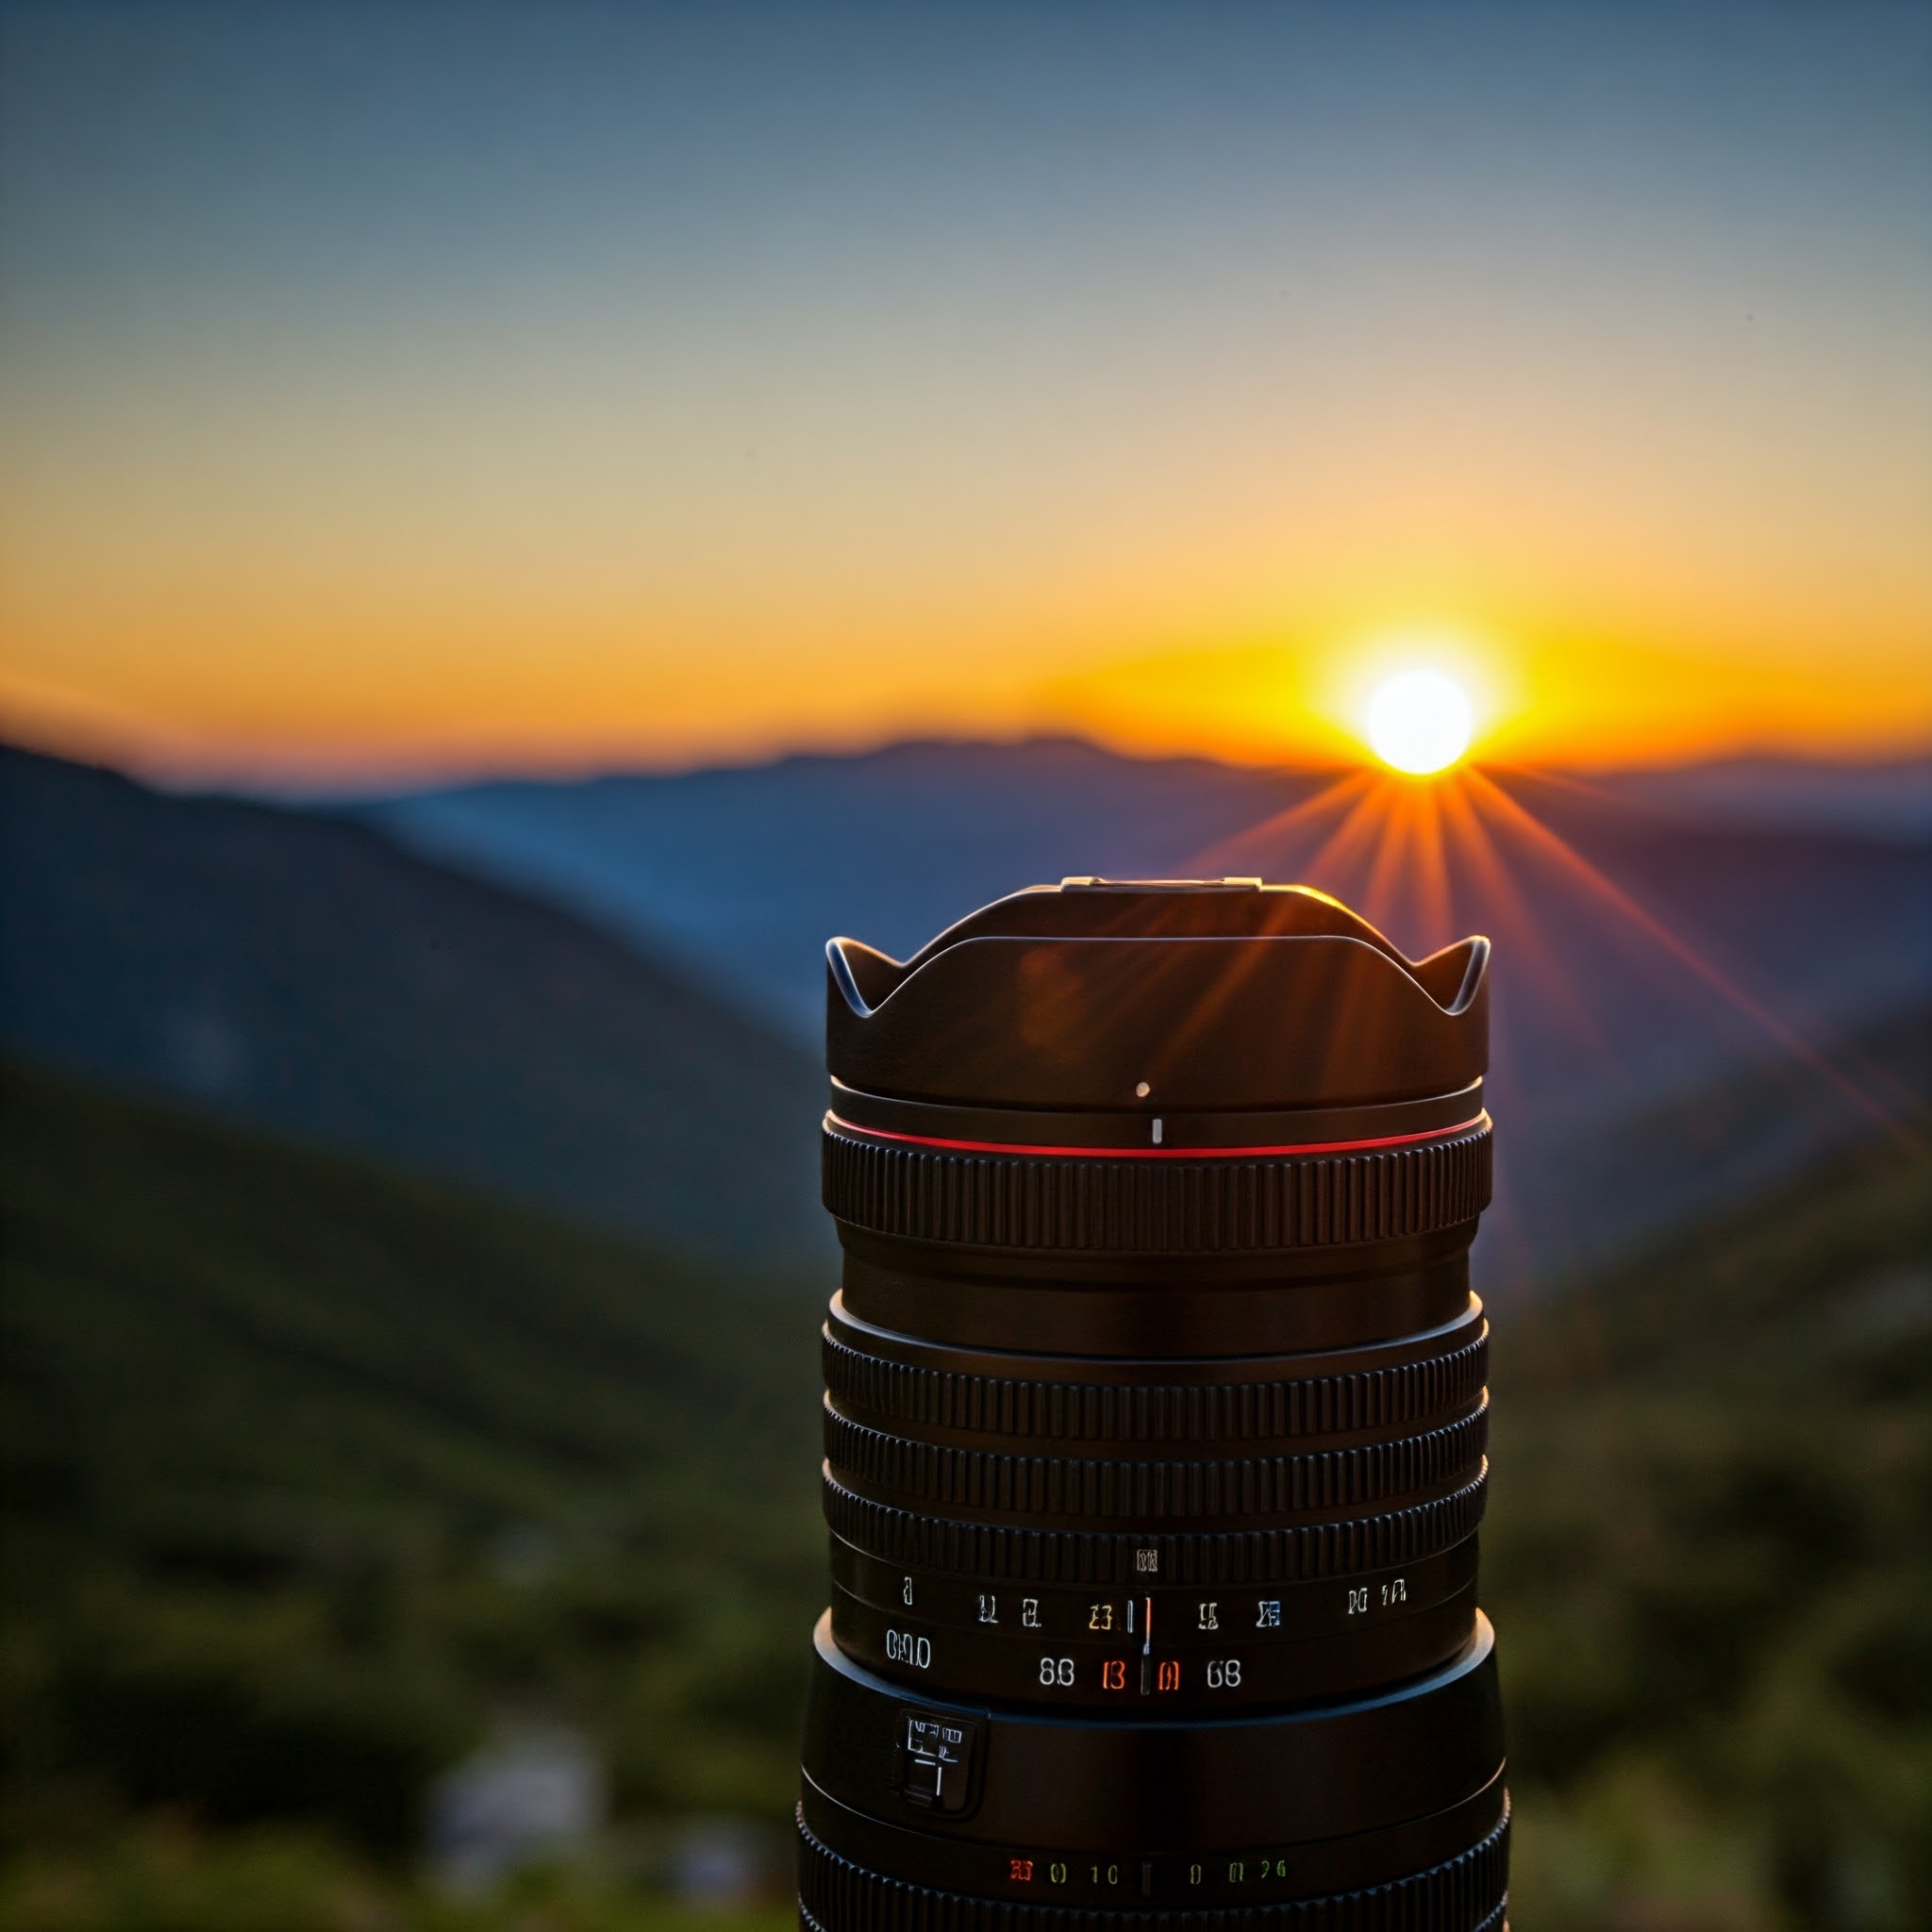
2. DSLR/Mirrorless Cameras
These cameras offer greater control over image quality and creative effects. Key components include:
- Lens types: Wide-angle for landscapes, telephoto for zooming in, and prime lenses for sharp portraits.
- Modes: Start with Auto mode, then experiment with Aperture Priority (A), Shutter Priority (S), and Manual (M).
For tutorials on camera basics, visit Digital Photography School.
Step 2: Master the Exposure Triangle
Understanding the relationship between aperture, shutter speed, and ISO—collectively known as the exposure triangle—is crucial for achieving well-balanced photos.
- Aperture: Controls depth of field (how much of the image is in focus). A wide aperture (low f-stop number) creates a blurred background, ideal for portraits.
- Shutter Speed: Determines how long the sensor is exposed to light. Fast speeds freeze motion; slow speeds create motion blur, great for nighttime shots.
- ISO: Adjusts the camera’s sensitivity to light. Lower ISO values produce cleaner images, while higher ISO helps in low-light conditions but may introduce noise.
To visualize these concepts, check out this interactive exposure guide.
Step 3: Composition Techniques That Work
Great photography isn’t just about having the best equipment—it’s also about framing your subject effectively. Follow these tried-and-true composition rules to elevate your images:
- Rule of Thirds: Divide your frame into nine equal sections using two horizontal and two vertical lines. Place key elements along these lines or at their intersections for balanced compositions.
- Leading Lines: Use natural or architectural lines (roads, rivers, fences) to draw viewers’ eyes toward the main subject.
- Symmetry and Patterns: Look for symmetry in reflections, buildings, or repetitive patterns to create visually striking images.
- Framing: Incorporate natural frames (windows, arches, trees) to add depth and context to your shot.
- Negative Space: Leave empty space around your subject to emphasize simplicity and minimalism.
For examples of excellent composition, browse this gallery by PetaPixel.
Step 4: Lighting Is Everything
Lighting plays a pivotal role in photography. Understanding how to work with different lighting conditions can dramatically improve your results.
- Golden Hour: Shoot during sunrise or sunset when the light is soft, warm, and flattering.
- Harsh Midday Light: Use shadows creatively or diffuse sunlight with reflectors or scrims.
- Low-Light Conditions: Increase ISO cautiously, use a tripod, or embrace long exposures for dramatic effects.
For tips on working with challenging lighting, refer to this article by B&H Photo Video.
Step 5: Post-Processing Basics
Editing is an integral part of modern photography. Even minor adjustments can enhance colors, contrast, and sharpness, making your images pop. Popular editing tools include:
- Adobe Lightroom: Perfect for organizing and enhancing photos with non-destructive edits.
- Snapseed (for mobile): Offers powerful tools for quick touch-ups on the go.
- VSCO: Known for its film-inspired filters and intuitive interface.
For beginner-friendly editing tutorials, visit Adobe’s official blog.
Step 6: Practice, Experiment, and Learn
Like any skill, photography improves with consistent practice. Here are some actionable tips to keep growing:
- Challenge yourself: Participate in photo challenges (e.g., #30DaysOfPhotography on Instagram).
- Join communities: Engage with fellow photographers on platforms like Reddit’s r/photography or Flickr.
- Study others’ work: Analyze award-winning photographs to understand what makes them compelling.
For ongoing learning resources, follow CreativeLive’s photography courses.
Final Thoughts: Capture Your Unique Perspective
Photography is a deeply personal journey. While mastering the technical aspects is important, don’t forget to let your personality shine through your work. Every photographer sees the world differently, and that’s what makes each image special.
So grab your camera—or phone—and start exploring. Whether you’re documenting everyday life, capturing breathtaking landscapes, or experimenting with abstract concepts, remember: the best camera is the one you have with you. For further inspiration, explore iconic works by legendary photographers at The Guardian’s photography hub.
Happy shooting!